Why you need to know how to disable hotlinking
When managing a website, safeguarding your bandwidth and server resources is crucial. One of the more subtle threats to these resources is hotlinking. Hotlinking occurs when someone embeds your site’s assets, such as images or videos, directly into their own content. This not only slows down your site but can also increase your hosting costs. In this post, we’ll discuss how to disable hotlinking on your website with .htaccess, a practical guide to preserving your site’s integrity and performance.
Understanding how to prevent hotlinking is essential for any website owner. Continuously losing bandwidth to other sites can lead to slower performance for your users, negatively impacting their experience and your SEO rankings. With proper .htaccess configurations, you can deter others from draining your resources and ensure your site's assets are used only for your intended purposes.

Need the domain first?
Runs the same live check as the front page. If it is taken we will show you when it expires.
Step 1 - Access Your Server
Firstly, you need access to your website's server files. Typically, you can do this via FTP (File Transfer Protocol) or through your web hosting control panel.

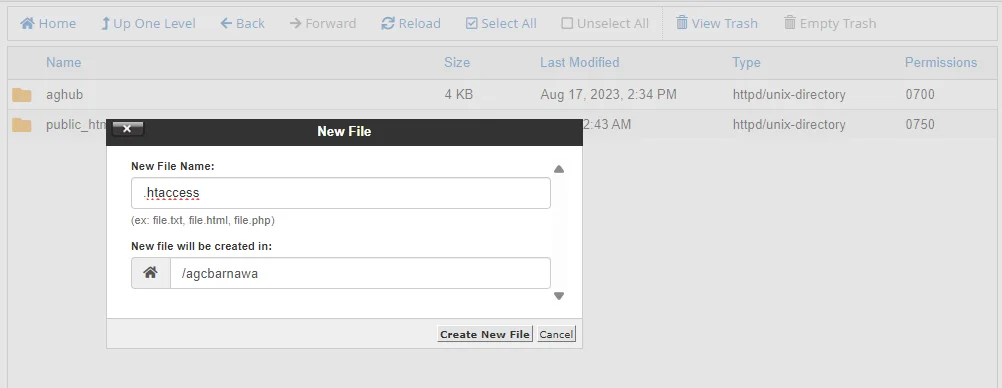
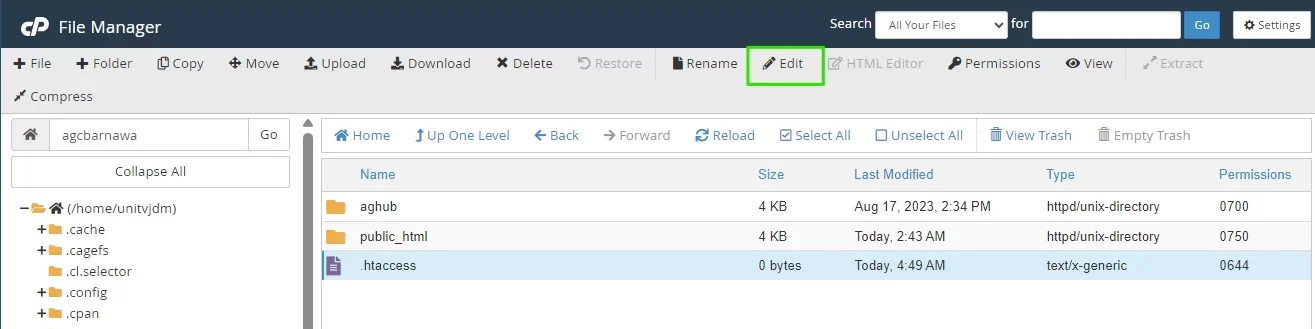
Step 2 - Create or Edit .htaccess File
In the root directory of your website, look for a file named `.htaccess`. If you don't find one, you can create a new text file and name it `.htaccess`.
Step 3 - Enable Rewrite Engine
At the top of your `.htaccess` file, add the following line to enable the rewrite engine:
RewriteEngine On


Step 4 - Set Allowed Referrers
Decide which domains you want to allow to hotlink your content. Typically, this will be your own domain(s) and any other trusted domains. By adding the following lines to your .htaccess file - you can control the domains that are allowed to hotlink your images
RewriteCond %{HTTP_REFERER} !^$
RewriteCond %{HTTP_REFERER} !^http(s)?://(www.)?trusted-website-1 [NC]
RewriteCond %{HTTP_REFERER} !^http(s)?:\/\/(www.)?trusted-website-2.com [NC]
Step 5 - Block Hotlinking
Add the following line to block hotlinking from any other domain that is not explicitly allowed:
RewriteRule \.(jpg|jpeg|png|gif)$ - [NC,F]
This example targets image files (jpg, jpeg, png, gif), but you can add or remove file extensions as needed.

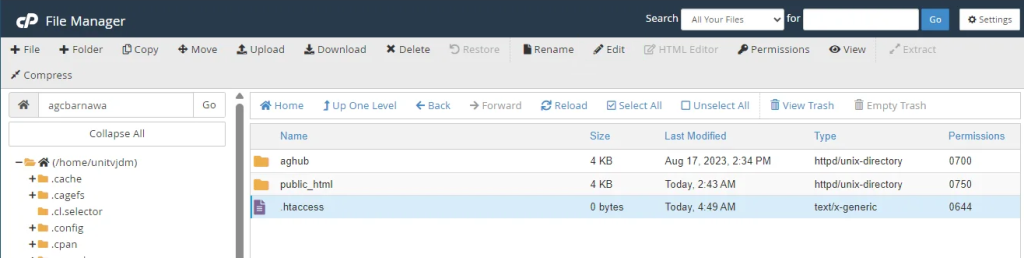
Step 6 - Save/Upload your .htaccess file
Save the changes to your `.htaccess` file and upload it to your website's root directory if you made edits locally.