How to enable GZIP compression with .htaccess
25-08-2024 - Guides, htaccessUnderstanding (GZIP) Compression, and why you should use it
Optimizing website performance is crucial for providing an excellent user experience. One essential technique for enhancing website speed is compression – so knowing how to enable GZIP compression, can be a very valuable skill.
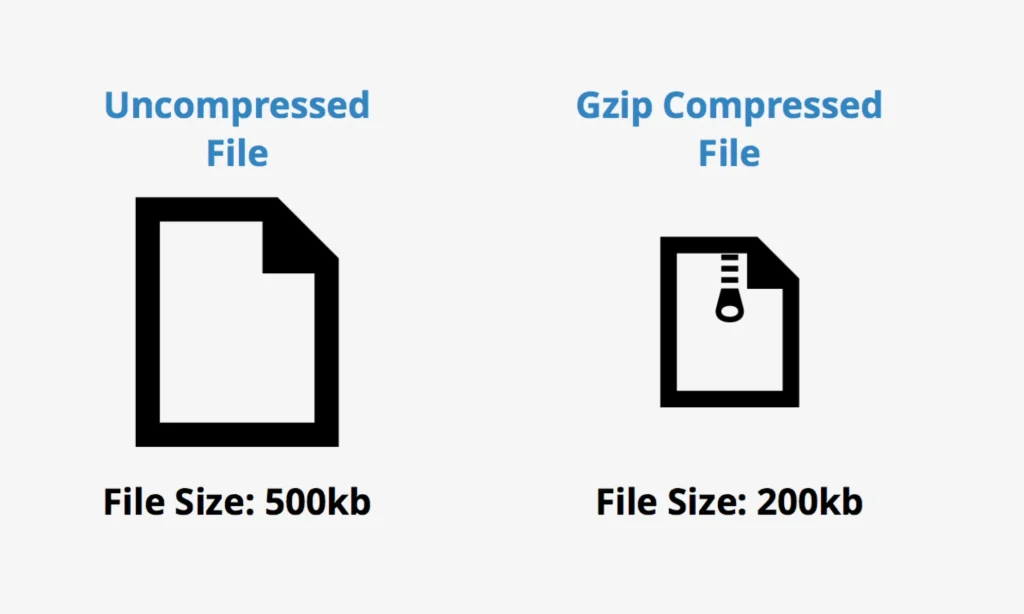
Compression reduces the size of web files like HTML, CSS, and JavaScript before they are sent from the server to the user’s browser. By shrinking these files, GZIP minimizes the amount of data transferred, leading to faster page loads and improved overall site performance (& user experience).
The benefits of using compression are numerous. Primarily, it helps you save bandwidth, which can reduce hosting costs, especially for sites with high traffic. Additionally, faster loading times can positively impact your search engine rankings, as search engines like Google prioritize speed in their algorithms.
Now, you might be wondering how to enable GZIP compression on your website. Typically, this involves configuring your server, and the process varies depending on the server environment. For Apache servers, you can enable GZIP compression through the .htaccess file. By adding specific directives to this file, you prompt the server to compress files before they are sent to users.

What is a .htaccess File
A .htaccess file is a crucial configuration file used in web servers running the Apache HTTP Server software. The term “.htaccess” stands for “hypertext access” and it allows webmasters to configure website settings at the directory level, offering more control without requiring access to the main server configuration files.
This file is typically located in the root directory of your website and can be used to implement various rules and directives. Examples include URL redirection, custom error pages, and more, giving webmasters the ability to optimize site performance and user experience easily.
One of the most common uses of the .htaccess file is to enable compression, a method used to reduce the size of web page content and speed up load times. By adding specific directives, you can instruct the server to compress files before they’re sent to the user’s browser.
Because the .htaccess file operates at the directory level, changes can be quickly made effective, making it a powerful tool for immediate configuration adjustments. However, it’s important to handle it carefully, as incorrect configurations can lead to website errors. Thus, backing up the .htaccess file before making any changes is always recommended.
How To Check If GZIP is Enabled
Before diving into the configuration, it’s wise to know how to check if GZIP is enabled on your server, and there are various online tools available that can quickly analyze your site and inform you if GZIP compression is active.
Simply input your website URL into tools like GiftOfSpeed‘s compression Test, and you’ll receive an immediate status report. Another popular tool is Check GZIP Compression, which also offers a straightforward interface for verifying if your site’s assets are compressed. These tools generally provide detailed insights, showing which files are compressed and the compression ratios achieved.
In addition to online tools, browser developer tools can also help verify GZIP status. By inspecting the network headers in Chrome or Firefox, you can confirm if the Content-Encoding: gzip header is present, indicating active compression.
Step 1 – Access Your Server
Firstly, you need access to your website’s server files. Typically, you can do this via FTP (File Transfer Protocol) or through your web hosting control panel.


Step 2 – Create or Edit .htaccess File
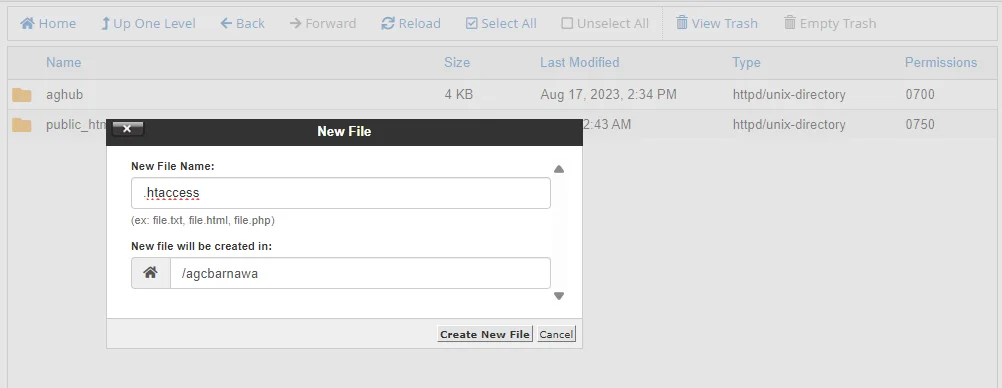
In the root directory or the /public_html folder of your website, look for a file named `.htaccess`. If you don’t find one, you can create a new text file and name it `.htaccess`.
Step 3 – Enable Gzip compression
To enable Gzip Compression edit your .htaccess file and add the following code/directiv to the file.
<IfModule mod_deflate.c>
AddOutputFilterByType DEFLATE text/html text/plain \ text/xml text/css text/javascript \ application/javascript application/x-javascript BrowserMatch ^Mozilla/4 gzip-only-text/html BrowserMatch ^Mozilla/4\.0[678] no-gzip BrowserMatch \bMSIE !no-gzip !gzip-only-text/html Header append Vary User-agent</IfModule>


Step 4 – Save/Upload your .htaccess file
Save the changes to your `.htaccess` file and upload it to your website’s root directory if you made edits locally.
