How to Set Cloudflare Browser Cache TTL
29-12-2023 - Cloudflare, GuidesIntroduction to the Cloudflare Browser Cache TTL
Setting your Cloudflare browser cache TTL is a crucial step in optimizing your website’s performance. Tailoring the Time To Live (TTL) dictates how long a visitor’s browser caches your site’s static resources before a check for newer versions is made. By fine-tuning this setting, you can strike a balance between speed and content freshness. This can lead to faster load times, reduced server load, and a smoother experience for repeat visitors. Adjusting the browser cache TTL is about understanding the rhythm of your site’s updates and visitor habits to customize when content is refreshed, enhancing your site’s efficiency and reliability.
What is Cloudflare Browser Cache TTL
Cloudflare’s browser cache TTL (Time-To-Live) refers to the duration for which your website’s static resources – are stored in a visitor’s browser cache before they expire. This setting is instrumental in determining how frequently a browser will request the latest version of these resources from the server. By specifying an appropriate TTL, website administrators can influence the balance between loading speed and content freshness.
When a user visits your website, resources such as images, CSS, and JavaScript files are downloaded and stored in their browser’s cache. If the TTL hasn’t expired by their next visit, their browser will load these resources locally, rather than downloading them all over again, which results in faster page load times and an improved user experience. Moreover, it reduces the bandwidth consumption and server load, leading to overall cost savings and efficiency.
Cloudflare allows granular control over the TTL settings, giving admins the power to optimize their site’s performance based on the nature of their content and the frequency of updates. A longer TTL is advantageous for largely static sites, where content doesn’t change often, whereas a shorter TTL may be preferable for sites with rapidly changing content. Understanding and configuring Cloudflare’s browser cache TTL is thus an essential aspect of website performance optimization.
How to Set Cloudflare Browser Cache TTL
Adjusting how long your website’s information is stored in a visitor’s browser is easy with Cloudflare’s settings. Coming up next is a simple guide to set the Cloudflare Browser Cache TTL, which is just a fancy way of saying “how long your site’s data stays on someone’s browser.”. The proceeding easy to follow step-by-step teaches you how to easily change the Cloudflare browser cache TTL.
(Step 0 – Setup Cloudflare as your domains DNS)
If your domain is currently not using the Cloudflare DNS – we have made an easy to follow guide, you can find here: “how to setup cloudflare with your domain“.
If your site is already active on Cloudflare, proceed to step 1
Step 1 – Go to Cloudflare.com
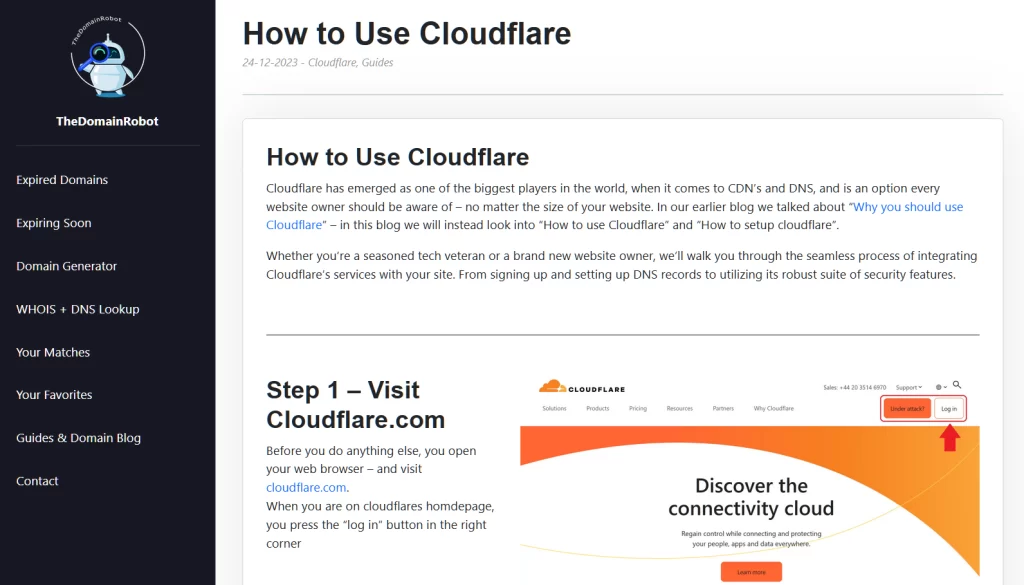
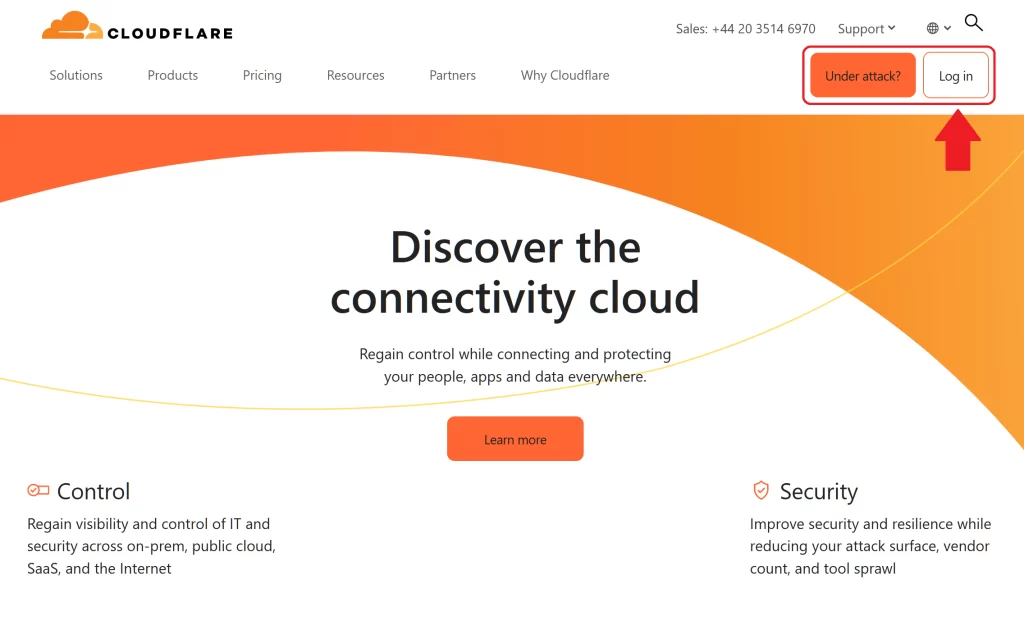
Open your web browser – and visit cloudflare.com.
When you are on cloudflares homdepage, you press the “log in” button in the right corner
Step 2 – Log in to Cloudflare
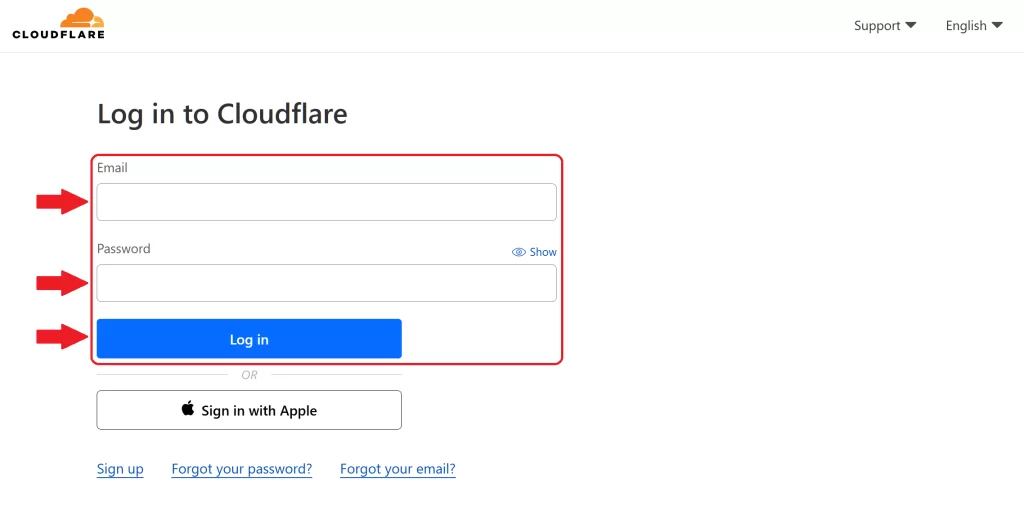
On the login form fill out the email and password for your Cloudflare account – then press the “Log in” button
Step 3 – Go to your Domain Dashboard
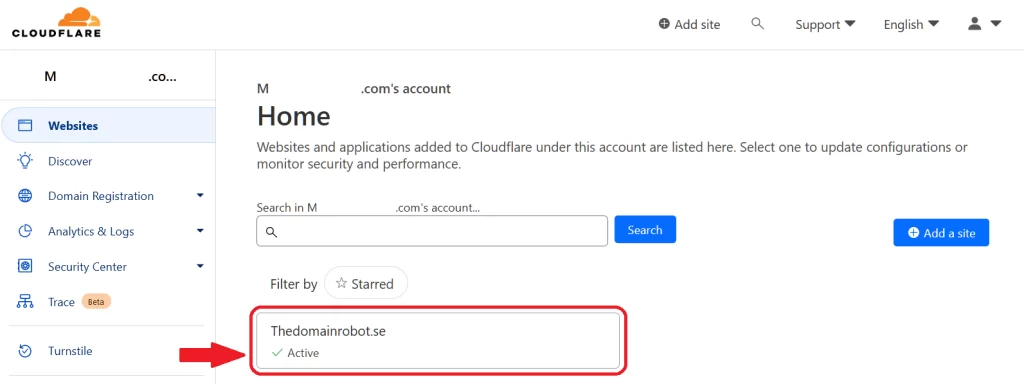
Once in your Cloudflare Dashboard, find your domain – and click it it.
Step 4 – Go to Caching, configuration
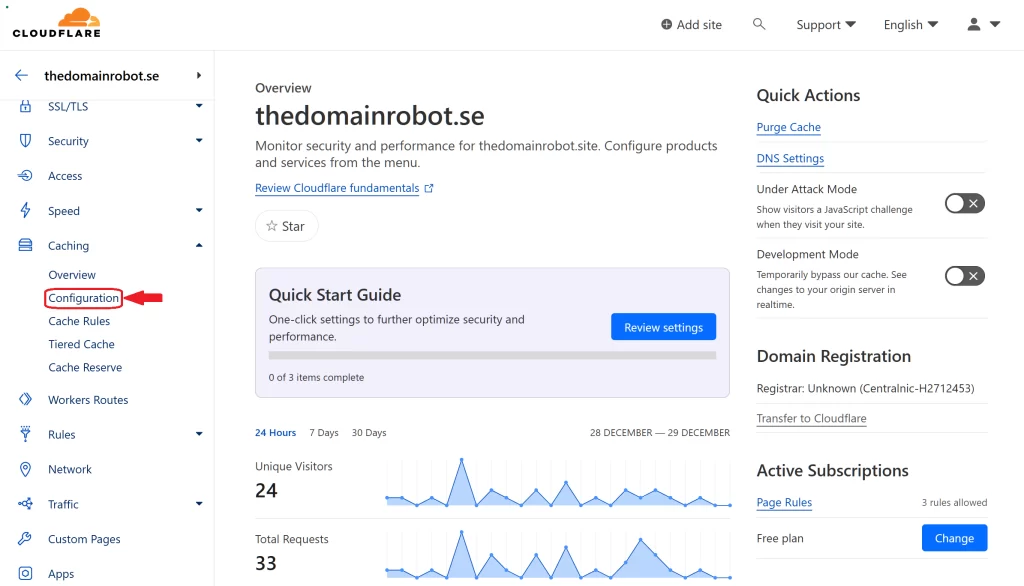
In the left navigation panel, you wanna find the Menu “Caching”, and press it – now click the “Configuration” link.
Step 5 – set Cloudflare browser cache TTL
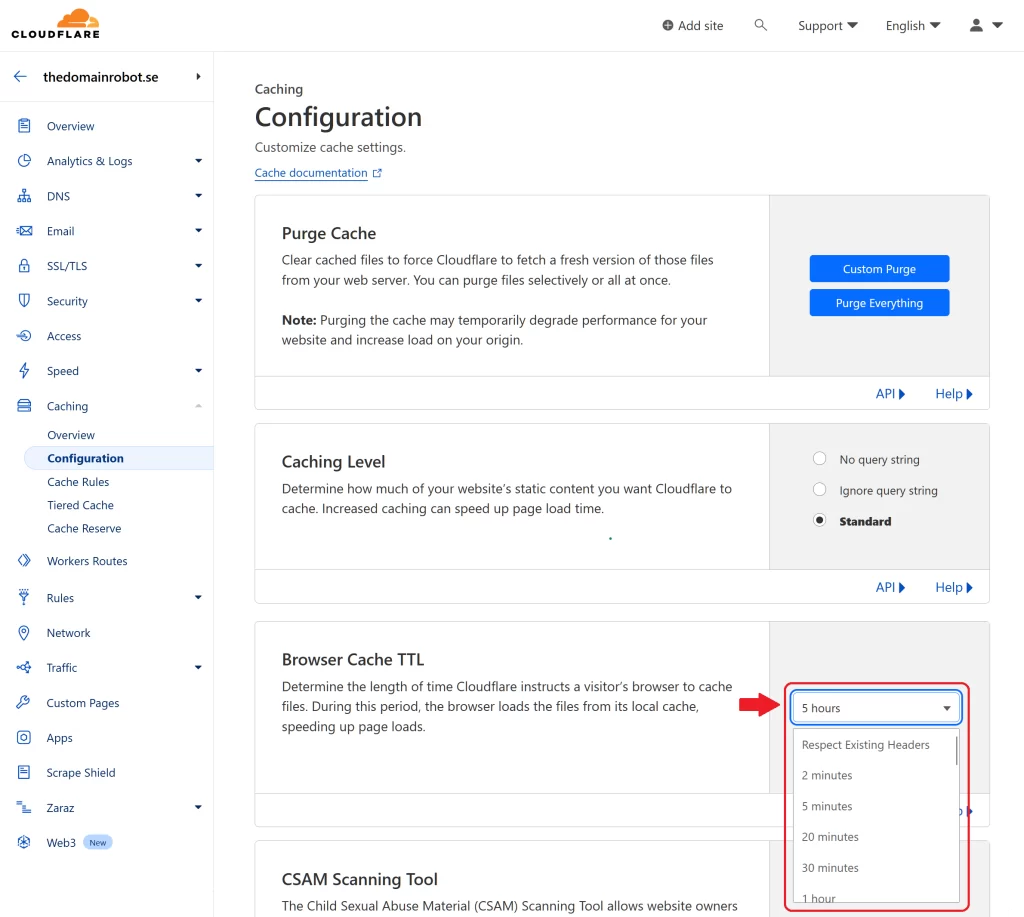
On the Caching, configuration page – you should now find the box called “Browser Cache TTL”. In this box you can click on the dropdown field – and select a wide range of different TTL’s.
The default Cloudflare browser TTL is 4 hours, but you might want a lower TTL or a higher TTL – it really depends what kind of site you are running, and how much traffic you have.
Every website owner, have to figure out the right browser TTL for his site.
Step 6 – Cloudflare browser TTL is now changed
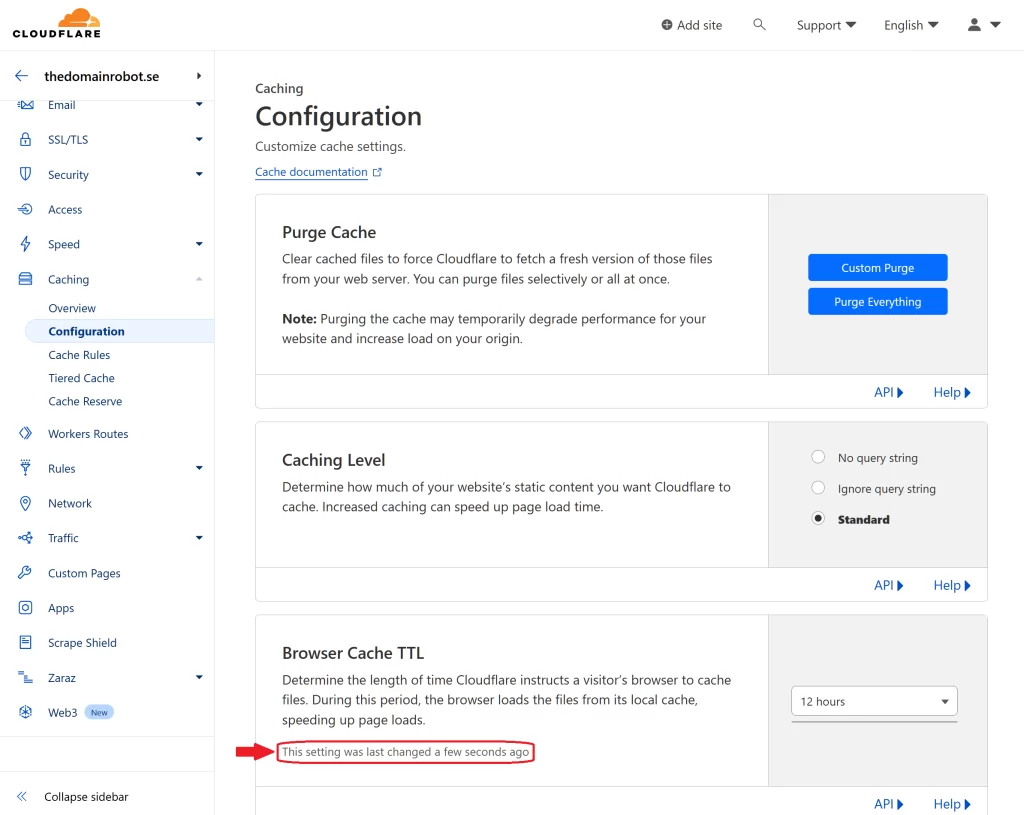
You have now manage to change the Cloudflare browser TTL. If you find out you either set the TTL to high, or to low, you can always go into Cloudflare and adjust the TTL
BUT wait! since it might not be obvious to everybody – changing the Cloudflares Browser TTL, only work if you use the cloudflare proxy IP’s aswell. But this should be something everybody using Cloudflare should do by default, but in case does not already use this, and you dont know how to turn on Cloudflare proxies – we made a guide to help you – “How to turn on Cloudflare proxies“
Our other Cloudflare Related Guides
When you have managed to If you’re eager to deepen your understanding of Cloudflare and its suite of tools, you’ll find our archive of Cloudflare-related guides invaluable. From setting up your first domain to optimizing website performance with Cloudflare’s caching options, our comprehensive tutorials are here to assist. Don’t miss out on the wealth of knowledge we’ve compiled to help you make the most of Cloudflare’s offerings. You can explore our other guides here:
- How to Use Cloudflare for a Turbocharged Website
- Your Ultimate Guide to Cloudflare Domain Redirect
- How to Turn on The Free Cloudflare Proxy Service
- Secure your website with the Free Cloudflare Bot Fight Mode
- Secure Your Assets, with Cloudflare Hotlink Protection
- How to Instantly Purge Cloudflare Cache
- How to Redirect an Expired Domain with Cloudflare
- How to Enable Cloudflare Compression to Speed Up Your Site
- How to Enable Auto Cloudflare Minify for Free Performance
